0
Three Essential Tools for Sourdough Success
This guide explores three must-have tools for making great sourdough bread:
Why These Tools Matter
- The Large Mixing Bowl: Provides the space needed for properly combining ingredients and allowing your dough to develop
- The Bench Scraper: Helps you handle sticky dough, divide portions, and keep your workspace clean
- The Stand Mixer with Proper Dough Hook: Takes the hard work out of kneading and developing gluten structure
Each of these tools plays a crucial role in transforming simple ingredients into a living, breathing dough that will become a delicious sourdough creation. Understanding how to use these properly can take your baking from good to exceptional, giving you consistent results while making the whole process more enjoyable and efficient.
Large Mixing Bowl
Why You Should Avoid Hand-Mixing Your Sinless Sourdough
I highly recommend using a stand mixer rather than mixing your Sinless Sourdough by hand. Because this low-carb dough takes time to reach the right consistency for bulk fermentation, even with a stand mixer. If you do insist on making the dough by hand, you’ll need a large glass mixing bowl for your shaggy dough.
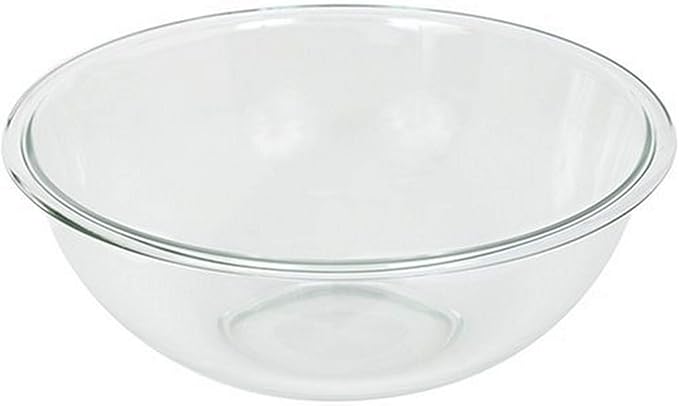
Why a Large Glass Mixing Bowl Makes a Difference
- Gives Room for Growth: Sourdough dough expands significantly during fermentation—a big bowl prevents overflow
- Shows You the Progress: Glass lets you clearly see how your dough is changing—you can monitor rising, stretching, and bubbling to know when it’s ready for the next step
- Keeps Flavours Pure: Glass is non-reactive, so it won’t interfere with the natural acidity of sourdough, preserving the true flavour
- Cleans Up Nicely: Sticky dough wipes away easily, and most glass bowls are dishwasher safe
- Stays in Place: A flat bottom keeps the bowl steady during mixing and folding, reducing spills
- Multi-Purpose Tool: Use your large glass bowl for salads, marinating, or other kitchen tasks when you’re not baking
But remember—for low-carb Sinless Sourdough, a stand mixer will give you much better results with less effort!
Large Mixing Bowl Amazon Links:
Pyrex Prepware 4-Quart Rimmed Mixing Bowl, Clear
Stand Mixer With Proper Dough Hook
Why I Use a Stand Mixer for Sourdough
Mixing dough by hand for 6 to 8 minutes takes a lot of strength. That’s why I recommend using a stand mixer—it makes the job easier and gives more consistent results.
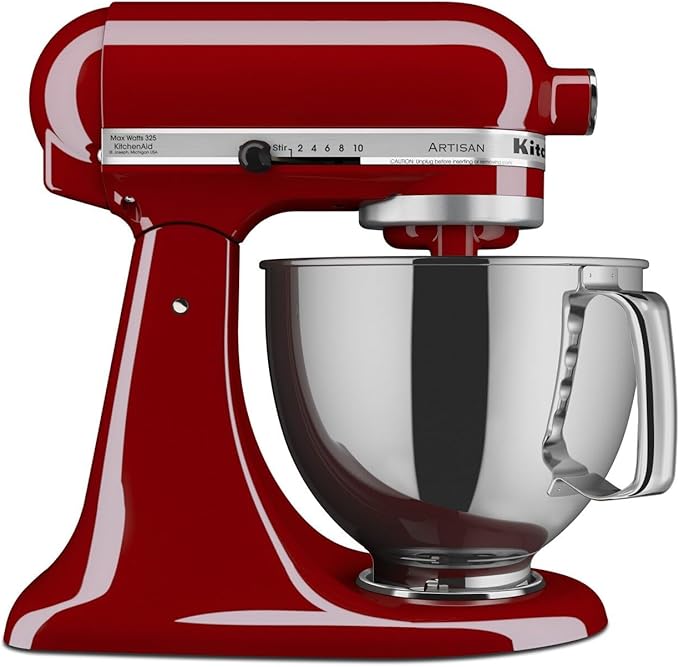
I personally use a KitchenAid stand mixer because it delivers great results every time. What really matters is having the right attachments:
- Use a flat beater first to bring the dough together into a shaggy mass
- Then switch to a properly shaped dough hook to knead it smooth
⚠️ Avoid the spiral or swirl-style dough hook—it tends to tear the dough instead of stretching it properly.
As someone who bakes sourdough often, I rely on my KitchenAid for its strength and dependability. Its sturdy build and powerful motor can easily handle thick doughs, and the way it mixes ensures everything is combined thoroughly.
The stand mixer mimics hand-kneading, which saves time and effort. It also helps build strong gluten structure for a well-risen loaf with good texture.
KitchenAid mixers are trusted in many professional kitchens for a reason—they’re built to last. With solid gears and accurate speed control, they help you get the best rise, crumb, and flavour out of your sourdough.
Stand Mixer Amazon Links:
KitchenAid Products
USA:
KitchenAid Artisan Series 5-Quart Tilt-Head Stand Mixer
KitchenAid Yeast Dough Hook For KSM150
Canada: