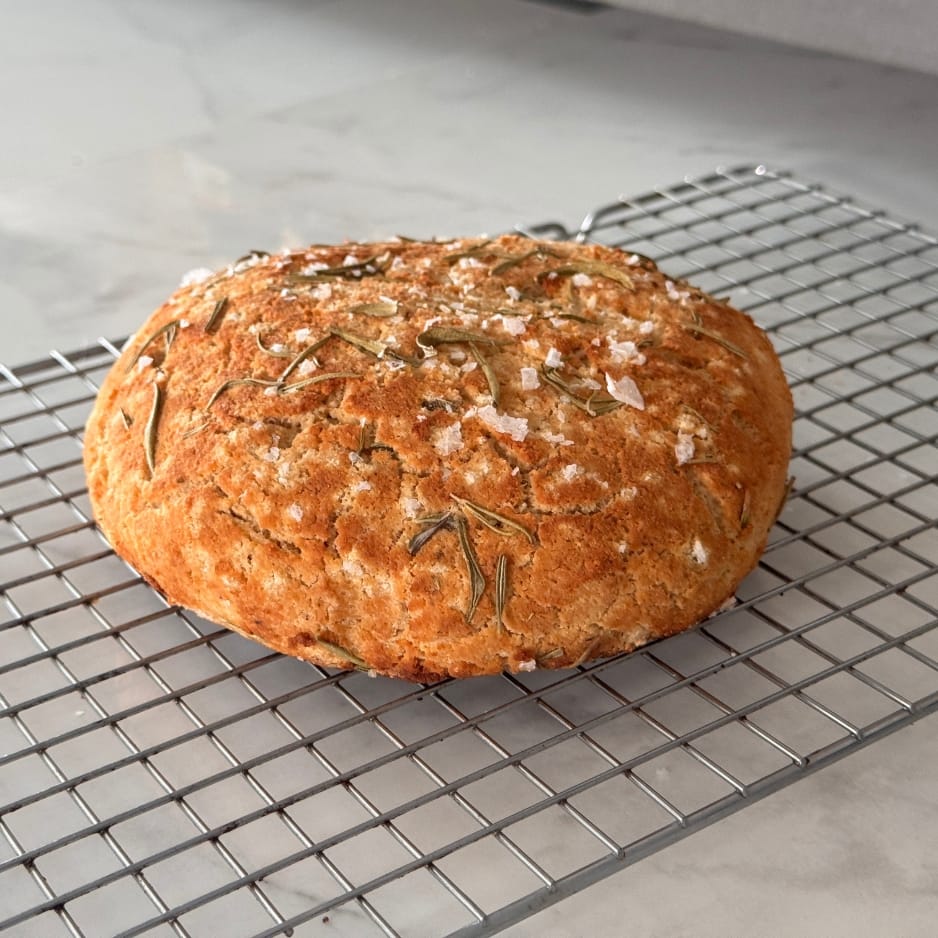
KETO GLUTEN-FREE SOURDOUGH ARTISAN LOAF

The Keto Baking Mechanic™ — Recipes
Gluten-Free Keto Sourdough
Where We Create, Tweak and Enhance
Keto and Low Carb Breads and Baked Goods
This gluten-free keto sourdough is a keto-friendly, low-carb recipe that includes a small amount of authentic sourdough fermentation to support flavour, texture, and digestibility.
🏓 A Crackling Crust, a Tender Crumb, 2.1g Net Carbs
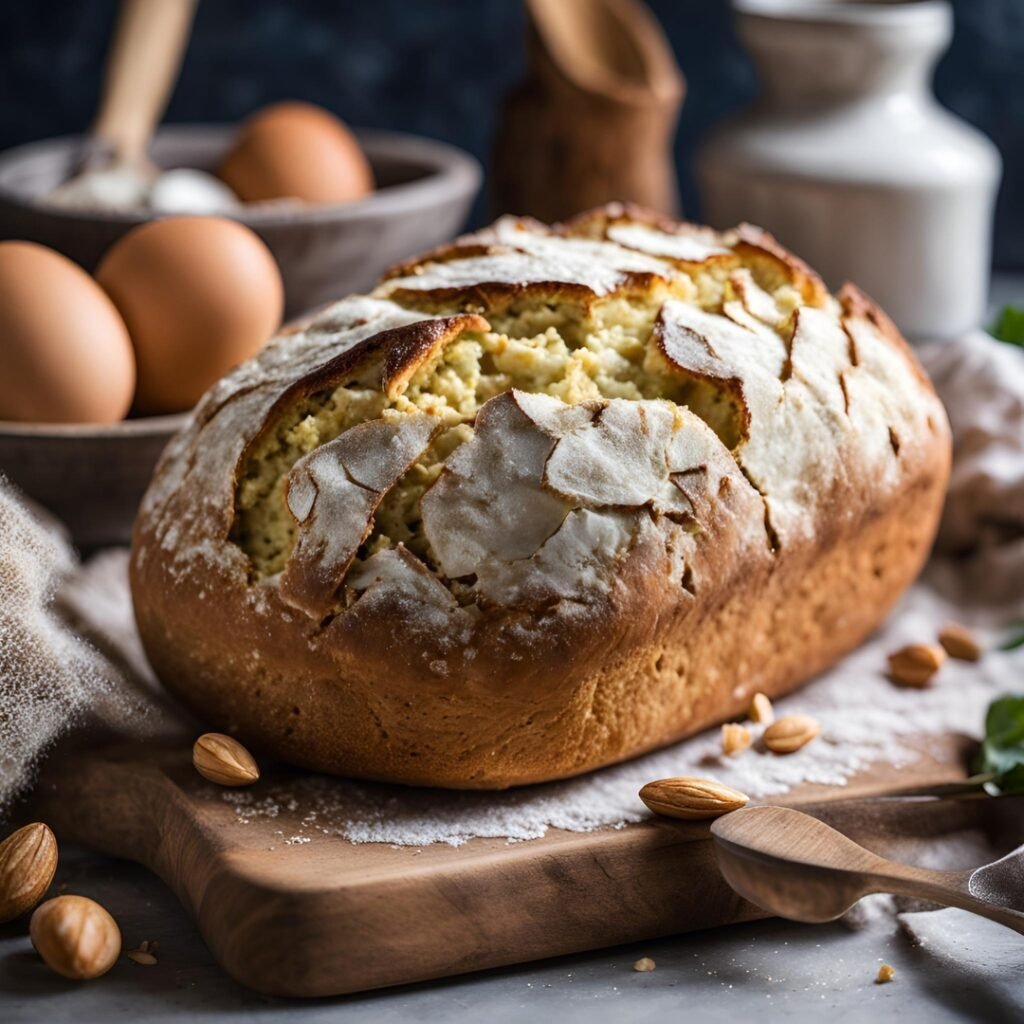
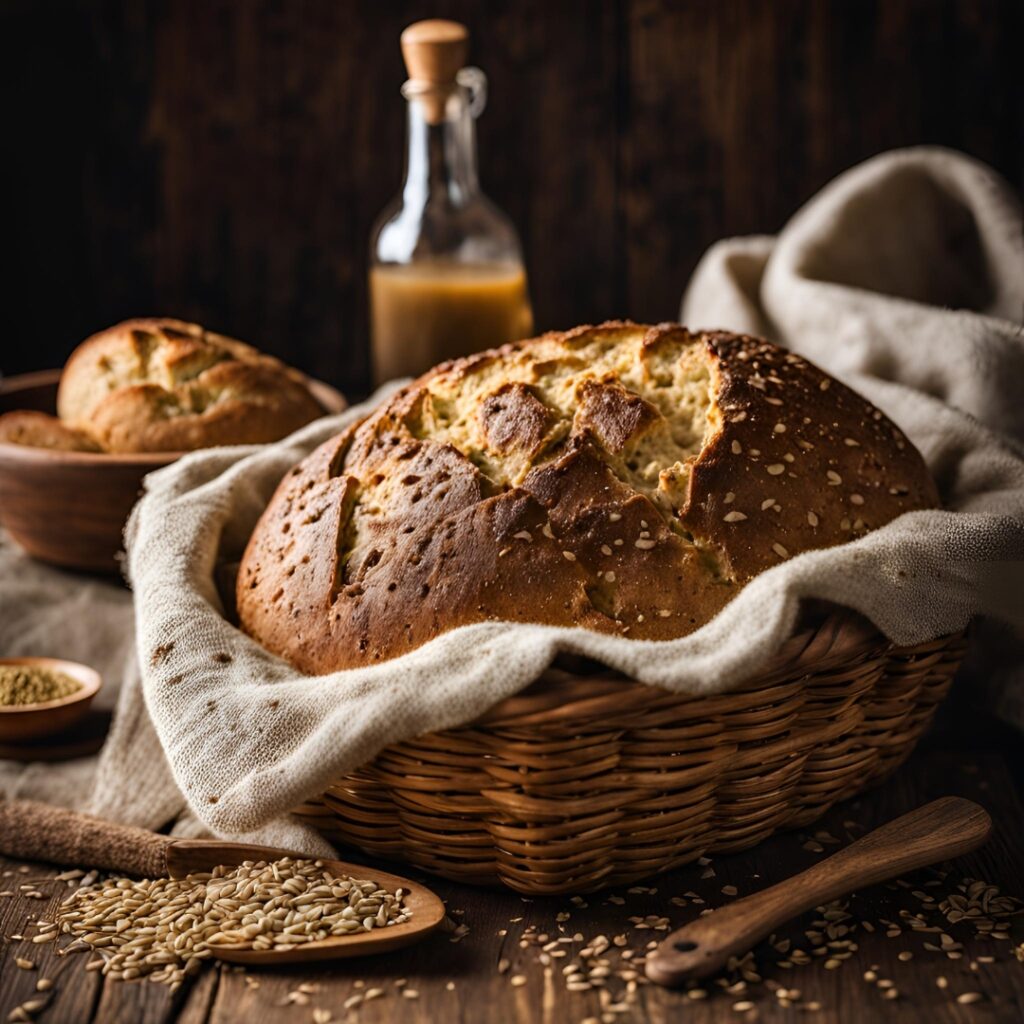
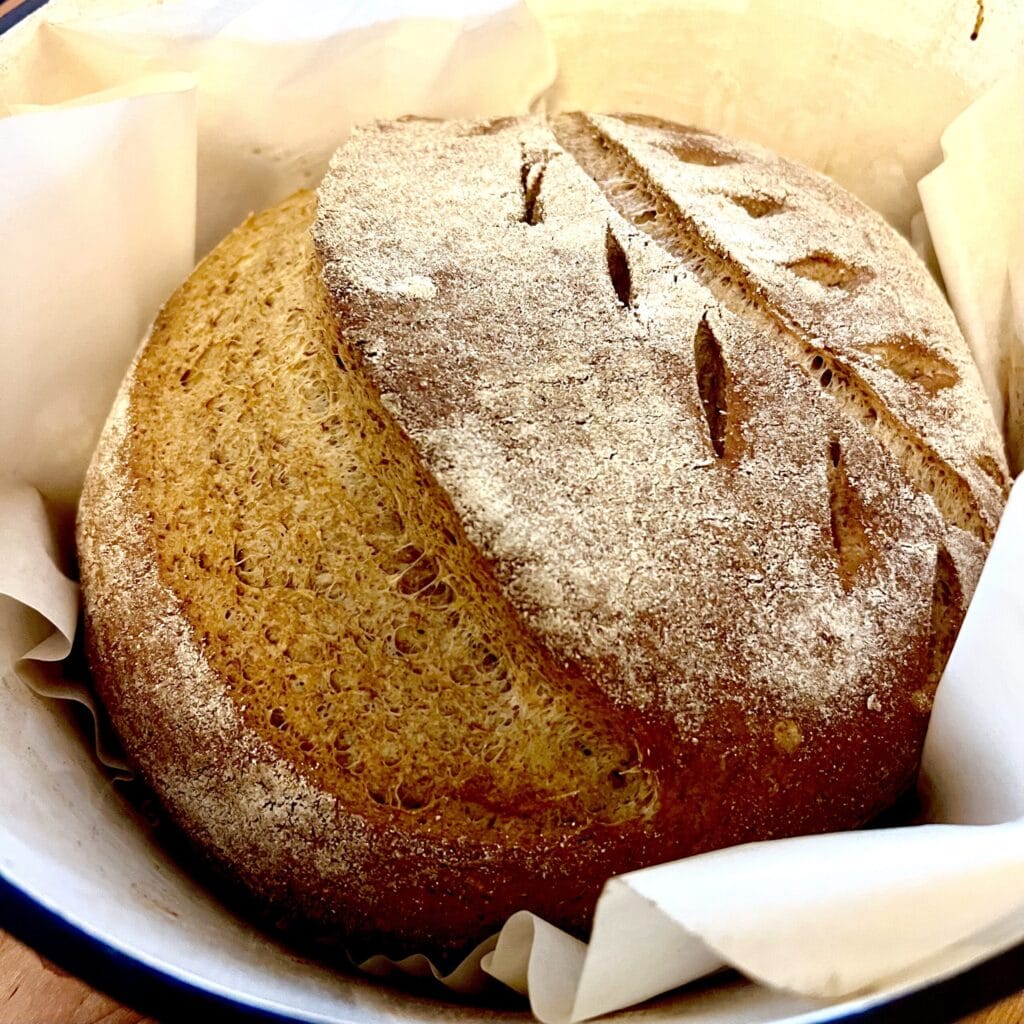
Gluten-free keto sourdough doesn’t have to mean sacrificing that perfect crusty exterior and tender, airy crumb you remember from traditional bread. I spent months trying to recreate authentic sourdough texture using low-carb ingredients, and honestly, most attempts resulted in dense hockey pucks. But this gluten-free keto sourdough recipe finally delivered — a beautiful golden loaf with that signature tang and an incredibly satisfying chew at just 2.1g net carbs per slice.
Important Note on Gluten-Free Labelling
This recipe is designed for people who want an almond flour-based keto sourdough or who have gluten sensitivity. While it contains no wheat, rye, or barley, this recipe is not suitable for celiac disease. Cross-contamination during ingredient processing and the use of oat fibre (which may contain trace gluten) mean this bread should not be consumed by those with celiac disease. If you have celiac disease, please consult certified gluten-free ingredients and take appropriate precautions to avoid cross-contamination.
The Keto Diet Types This Fits
✅ Strict Keto (Standard Ketogenic Diet): Fits 20-25g daily limit
✅ Flexible/Lazy Keto: Perfect for under 50g daily tracking
✅ Dirty Keto: Meets macros with convenient ingredients
✅ Clean Keto: Whole food, minimally processed ingredients
✅ Keto for Heart Health: Heart-healthy fats, no trans fats
✅ Keto for Type 2 Diabetes Management: Low net carbs, high fibre, fermentation benefits
✅ High-Protein Keto: 7.1g protein per slice
✅ Keto for Weight Loss: High satiety, low calorie density
✅ Vegetarian Keto: No meat products
✅ Cyclical Keto (CKD): Works for low-carb phases
✅ Targeted Keto (TKD): Good for pre/post-workout
Why This Recipe Works
This grain-free artisan bread uses a combination of almond flour, oat fibre, and whey protein isolate to create structure without wheat. The Dutch oven method traps steam during baking, creating that gorgeous crackling crust while keeping the interior moist. Traditional sourdough fermentation adds complexity and may support easier digestion for some people.
🎥 Follow The Keto Baking Mechanic on YouTube for more flexible keto recipes: @theketobakingmechanic
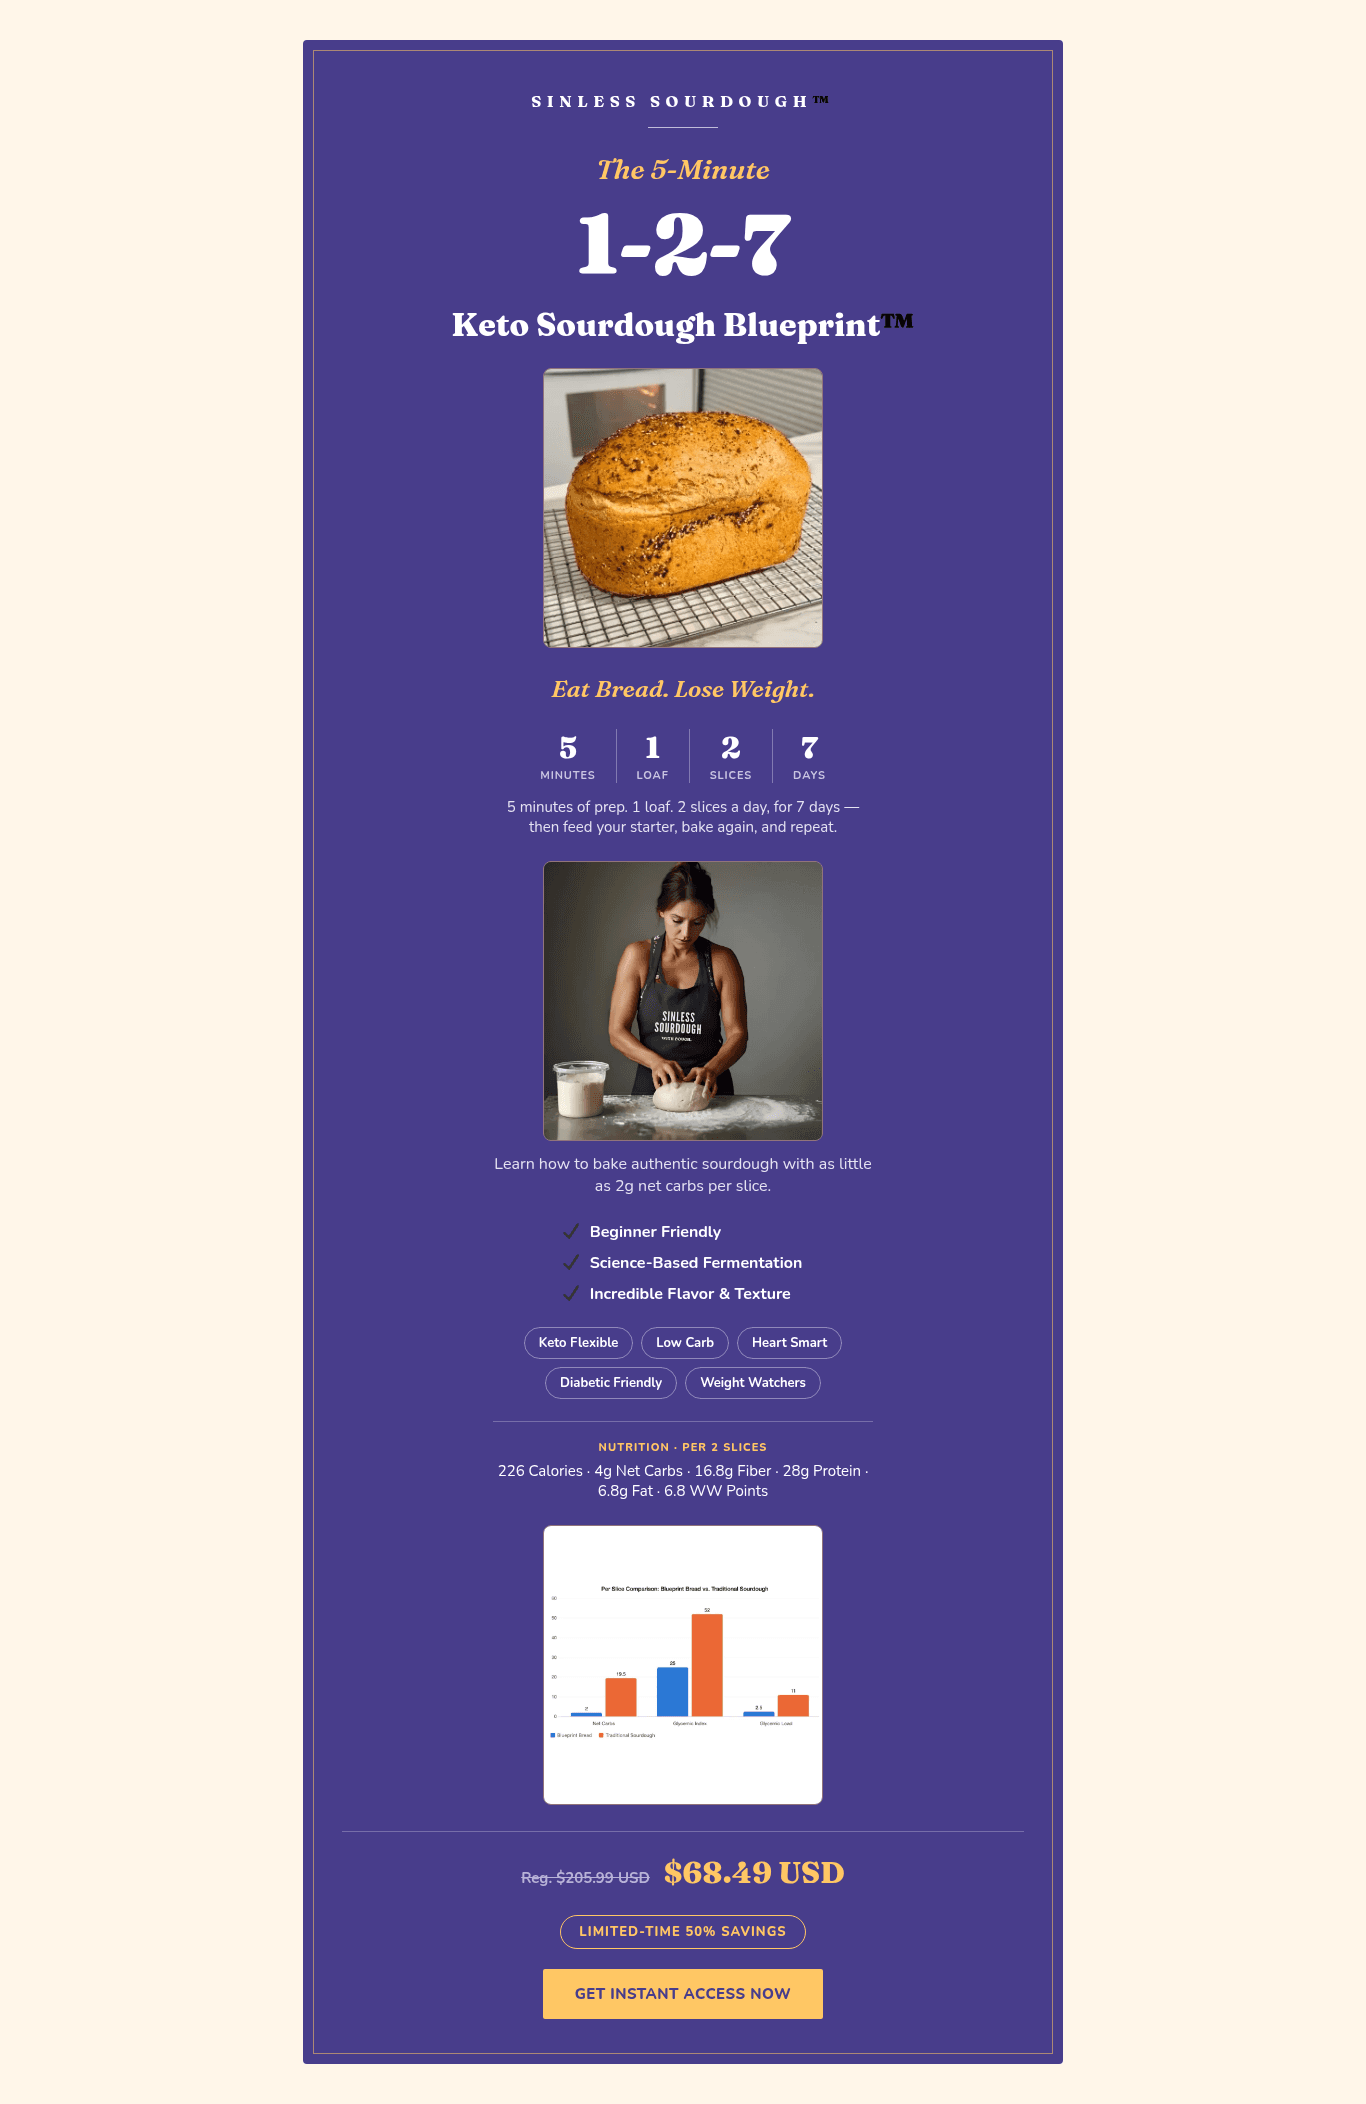
https://sinlesssourdough.com/shop/
The Appeal
✔️ Only 2.1g net carbs per slice with 7.1g protein for lasting satiation
✔️ Perfect Dutch oven crust rivals traditional bakery bread
✔️ Authentic sourdough tang from living Biome Boss™ starter
✔️ Grain-free and gluten-free for digestive comfort (not celiac-safe)
✔️ Freezer-friendly for easy meal prep (up to 3 months)
Perfect for keto dieters, low-carb enthusiasts, gluten-sensitive individuals, and sourdough lovers seeking healthier alternatives.
The Difference
What Makes This Gluten-Free Keto Sourdough Different? 🧒
Traditional sourdough requires wheat flour for gluten structure, which makes it incompatible with low-carb lifestyles and unsuitable for those with gluten sensitivity. Most gluten-free breads rely on starches that spike blood sugar just as much as wheat.
This recipe achieves authentic texture through a carefully balanced combination of psyllium husk gel, almond flour, and oat fibre. The psyllium creates elasticity, while whey protein adds structure. The result? A tender crumb that actually tears like real bread.
The Dutch oven technique is game-changing here. By preheating the pot and baking covered, you trap steam that would normally escape your oven. This creates that signature crackling crust and helps the loaf rise properly without collapsing.
Key Differences
- Uses living sourdough culture for depth of flavour
- Dutch oven steam creates professional bakery crust
- No xanthan gum or chemical binders needed
The Science
Why Does This Gluten-Free Keto Sourdough Recipe Work? 💪
✔️ Mega Protein: 7.1g from almond flour and whey protein isolate keeps you satisfied for hours
✔️ Ultra Low Net Carbs: Only 2.1g per slice with 7.5g fibre for digestive support
✔️ Simple Ingredients: All available at regular grocery shops or online
✔️ Meal Prep Friendly: Freezes beautifully for up to 3 months without quality loss
✔️ Authentic Sourdough Fermentation: Real living culture adds complexity and may improve digestibility
✔️ Professional Results: Dutch oven method delivers bakery-quality crust and crumb every time
Why It’s Valuable
What Are the Health Benefits of the Main Ingredients? 🌟
Almond Flour
- Rich in Vitamin E: Powerful antioxidant that supports skin health and immune function
- Heart-Healthy Fats: Monounsaturated fats may help maintain healthy cholesterol levels
- Stable Blood Sugar: Low glycaemic index prevents energy crashes and cravings
Oat Fibre
- Pure Insoluble Fibre: Promotes healthy digestion and regular bowel movements
- Zero Net Carbs: Adds bulk and texture without affecting blood sugar
- Enhanced Satiety: High fibre content keeps you feeling full longer between meals
Whey Protein Isolate
- Complete Protein Source: Contains all nine essential amino acids for muscle maintenance and repair
- Rapid Absorption: Quickly absorbed for efficient nutrient delivery and satiation
- Structural Support: Provides the protein matrix that gives this bread its tender structure
Why This Combination Works: Together, these ingredients create a powerhouse of sustained energy, digestive support, and blood sugar stability. The high protein and fibre content work synergistically to keep you satisfied while the healthy fats provide lasting fuel without the crash.
Flavour & Sensation
What Are the Predominant Taste Sensations in Great Recipes? 👀
The Five Tastes and Beyond
Top chefs understand that the most memorable dishes engage multiple taste sensations simultaneously, creating a complex and satisfying eating experience. Beyond the basic four tastes we learn as children, culinary professionals work to balance sour (tangy), salty, sweet, bitter, and umami — that elusive fifth taste sensation that brings roundness and depth of flavour.
Umami is that savoury richness usually associated with aged cheeses, cured meats, fermented foods like gluten-free keto low-carb sourdough, or deeply roasted vegetables like caramelised broccoli. It’s the taste that makes you pause and think, “What makes this so good?” When you can layer several of these sensations into a single dish, you create something that resonates on multiple levels, keeping each bite interesting and engaging.
Mouthfeel: The Hidden Dimension
But taste is only part of the story. Great cooking also considers mouthfeel — the physical sensations that complement and elevate flavour. There’s the fatty richness of cream or butter that coats your palate, the satisfying snap and crunch of something crispy, the playful tingle of effervescence from carbonation, the cooling sensation of mint, the warming heat of chilli, and the textural contrast between smooth and rough, soft and crunchy. These physical sensations work in harmony with taste to create a complete sensory experience.
This gluten-free keto sourdough delivers a beautiful symphony of sensations. The tangy sourdough notes from fermentation provide that signature sour sensation, while a touch of saltiness balances the profile perfectly. The almond flour contributes subtle umami depth and a rich, creamy mouthfeel. Most satisfying of all is the textural contrast — that crackling, crispy crust gives way to a tender, slightly chewy interior that delivers pure bread satisfaction.
The Starter’s Role
What Adding Biome Boss™ Sourdough Starter Provides to a Recipe
Available at sinlesssourdough.com/shop/
Adding Biome Boss™ living sourdough starter contributes more than flavour alone. Even in baked goods that don’t rely on sourdough for rise, the starter plays several functional and sensory roles.
Flavour Balance
Fermentation naturally produces mild organic acids. These acids add a gentle tang that balances sweetness, especially in recipes that use chocolate or non-glycaemic sweeteners. This helps prevent flavours from tasting flat or overly sweet.
Depth and Complexity
Fermented ingredients introduce layered flavours that develop during fermentation. Instead of a single dominant taste, the final baked good has more nuance and a fuller flavour profile.
Improved Texture
The hydration and fermentation by-products in a living starter can help soften crumb and improve mouthfeel. This is especially useful in low-carb baking, where textures can otherwise be dry or dense.
Fermentation By-Products
While baking reduces live microorganisms, fermentation creates compounds that remain after baking. These by-products contribute to flavour development and may support easier digestion for some people.
Digestive Support (Indirect)
Enzymatic activity during fermentation begins breaking down certain proteins and carbohydrates. This pre-processing may make baked goods feel lighter or easier to digest compared to non-fermented versions.
Natural Freshness Support
The mild acidity from fermentation creates an environment that is less favourable to spoilage organisms. This can help baked goods stay fresh longer without added preservatives.
Practical Use of Discard
Using starter in recipes makes regular feeding part of everyday cooking. This keeps the culture healthy while reducing waste and adding value to simple recipes.
What You’ll Need
Ingredients
Psyllium Gel
- ¾ cup warm water (180 mL) — creates the elastic binding gel
- 2 tablespoons whole psyllium husks (12 g) — provides structure and elasticity without gluten
Dry Ingredients
- 2 cups ultra-fine blanched almond flour (224 g) — the base flour providing moisture and protein
- ½ cup oat fibre (45 g) — adds bulk and texture with zero net carbs
- 2 tablespoons whey protein isolate (16 g) — creates structure and boosts protein content
- 1 tablespoon baking powder (12 g) — provides additional rise and lightness
- 1 teaspoon salt (5 g) — enhances flavour and controls fermentation
Starter
1 cup living Biome Boss™ sourdough discard (240 g) — adds authentic sourdough flavour and fermentation benefits
Optional Topping
Everything-but-the-bagel seasoning OR sesame seeds — for visual appeal and extra flavour
Can You Substitute Ingredients?
- Almond flour: Not recommended for substitution as it provides essential moisture and fat content; sunflower seed flour may work but will alter flavour and colour
- Oat fibre: Cannot be replaced with oat flour (too high in carbs); wheat fibre or bamboo fibre may work but will affect texture
- Whey protein isolate: Unflavoured egg white protein powder can substitute in equal amounts; avoid casein protein as it absorbs differently
- Psyllium husks: Must use whole husks, not powder; no suitable substitutes exist as psyllium provides unique gel structure
What You’ll Need
Equipment
- Large mixing bowl — for combining all ingredients
- Spoon or dough spatula — for mixing the thick dough
- Measuring cups and spoons — accurate measurements ensure success
- Round parchment paper — pre-cut to fit your Dutch oven base for easy transfer
- Dutch oven with lid (4-7 quart capacity) — essential for creating steam and crust
- Instant-read thermometer — recommended for checking internal temperature (205-210°F/96-99°C)
- Cooling rack — allows air circulation during the critical cooling phase
- Water mister or spray bottle — for lightly misting the dough before adding toppings
Let’s Bake
How Do You Make Perfect Gluten-Free Keto Sourdough?
Phase 1: Prepare the Psyllium Gel
In a large mixing bowl, combine ¾ cup warm water with 2 tablespoons whole psyllium husks. Stir well and let sit for 3–5 minutes, until the mixture becomes thick and pudding-like.
Pro tip: The gel should hold its shape when stirred. This hydrated structure is what supports the entire loaf.
Phase 2: Build the Dough
- Add the almond flour, oat fibre, whey protein isolate, baking powder, and salt directly to the psyllium gel
- Mix until a thick, cohesive dough forms. The mixture should begin pulling slightly away from the sides of the bowl
- Fold in 1 cup living Biome Boss™ sourdough discard and mix just until evenly incorporated
Common mistake: Over-mixing. Once combined, stop. Overworking gluten-free dough can make the crumb dense.
Phase 3: Rest and Shape
- Allow the dough to rest for 30 minutes. This hydration stage is essential — it allows the fibres to absorb moisture fully and strengthens the structure before baking
- Cut a round piece of parchment paper slightly larger than the base of your Dutch oven
- Shape the dough into a smooth round boule and place it in the center of the parchment. Lightly mist the surface with water and sprinkle with everything-but-the-bagel seasoning or sesame seeds if desired
Shaping tip: Use gentle hands. Create surface tension without compressing the dough. Think smooth and rounded — not tight and packed.
Phase 4: Preheat the Dutch Oven
- Place the empty Dutch oven with its lid into the oven
- Preheat to 450°F (230°C). Once the oven reaches temperature, allow the Dutch oven to continue heating for 30 minutes so it becomes fully heat-saturated
- This step ensures strong bottom heat and natural steam retention — two critical factors for proper gluten-free sourdough structure
Phase 5: Bake Covered
- Carefully lift the parchment and transfer the boule into the hot Dutch oven. Cover immediately with the lid
- Reduce the oven temperature to 350°F (175°C) and bake for 60 minutes
- This stage sets the internal structure and allows even heat penetration without the crust forming too early
Phase 6: Finish Baking Uncovered
- Remove the lid carefully, watching for escaping steam
- Reduce the oven temperature to 300°F (150°C) and bake for an additional 30–40 minutes, until the loaf is deep golden brown
- The internal temperature should reach 205–210°F (96–99°C)
- This uncovered phase allows moisture to evaporate, ensuring the crumb fully sets and preventing gumminess
Phase 7: Cool Completely (Critical)
- Remove the bread from the Dutch oven and transfer to a cooling rack
- Allow it to cool for at least 4 hours before slicing, or refrigerate overnight for optimal crumb structure
- Cutting too early releases trapped steam and can create a gummy texture. Allow the structure to finish setting before slicing
Troubleshooting
What Are Common Mistakes When Making Gluten-Free Keto Sourdough? 🔧
Gummy, Undercooked Interior
Solution: Bake until internal temperature reaches 205-210°F; don’t rely on colour alone. Always cool completely (4+ hours) before slicing to allow moisture to redistribute.
Why it happens: Cutting warm bread releases steam before the structure fully sets.
Flat Loaf That Doesn’t Rise
Solution: Ensure baking powder is fresh (test by adding to water — it should fizz vigorously). Preheat Dutch oven for the full 30 minutes after oven reaches temperature.
Why it happens: Inadequate heat or expired leavening agents prevent proper rise.
Burnt Exterior, Raw Interior
Solution: Follow temperature reductions precisely (450°F → 350°F → 300°F). Use an oven thermometer to verify actual temperature; many ovens run hot.
Why it happens: Maintaining high heat throughout baking browns the outside before the inside cooks.
Crumbly Texture That Falls Apart
Solution: Allow psyllium gel to sit the full 3-5 minutes before adding dry ingredients. Don’t skip the 30-minute rest period; this hydration time is essential.
Why it happens: Insufficient hydration prevents proper binding between ingredients.
Lacking Sourdough Flavour
Solution: Use actively bubbling discard that’s been fed within the last 12-24 hours. For stronger tang, let shaped dough rest at room temperature for 2-4 hours before baking.
Why it happens: Inactive or old discard lacks the active cultures that produce tangy flavour.
Make It Your Own
Can You Make Variations of Gluten-Free Keto Sourdough? 🎨
Rosemary Olive Loaf
Add 2 tablespoons fresh chopped rosemary to dry ingredients. Fold in ½ cup chopped olives before shaping. Savoury, Mediterranean flavour profile perfect with olive oil. Pairs beautifully with Italian dishes or as a soup accompaniment.
Cheddar Jalapeño Bread
Mix in 1 cup shredded sharp cheddar cheese. Add 2-3 diced jalapeños (remove seeds for less heat). Bold, spicy-cheesy flavour with satisfying texture. Excellent alongside chilli or as a sandwich bread for pulled pork.
Seeded Multigrain Style
Mix in 2 tablespoons each: sunflower seeds, pumpkin seeds, chia seeds. Top with additional seeds before baking. Nutty, hearty texture with extra crunch. Perfect for avocado toast or open-faced sandwiches.
Garlic Herb Focaccia-Style
Add 3 minced garlic cloves and 1 tablespoon Italian herbs to dry ingredients. Shape into a flat round instead of boule; dimple top with fingers. Aromatic, restaurant-quality flavour profile. Serve warm with olive oil for dipping or alongside pasta dishes.
Sweet Cinnamon Raisin
Add 2 teaspoons cinnamon and 2 tablespoons monk fruit sweetener to dry ingredients. Fold in ⅓ cup sugar-free dried cranberries or chopped pecans. Subtly sweet breakfast bread with warming spice. Toast and spread with butter or cream cheese for a satisfying morning treat.
By the Numbers
What Are the Nutrition Facts for Gluten-Free Keto Sourdough? 📊
Important Nutritional Disclaimer
Nutritional values are estimates and may vary depending on several factors. Values can change based on: whether ingredients are measured by weight vs. volume, differences between ingredient brands, variations in fibre content and grind size, and natural differences in agricultural products.
Even the same brand can have different nutritional values depending on the country where it is sold. This occurs because food labelling regulations, approved testing methods, and ingredient sourcing standards vary between regions such as Health Canada and the U.S. FDA.
Fermentation may also slightly reduce digestible carbohydrates over time, meaning actual net carbs can be somewhat lower than calculated values.
For the most precise results, always calculate nutrition using the specific ingredient labels and weights you personally use.
⭐ Whole Loaf Nutritional Values
Calories: 1,568 kcal •
Fat: 115g •
Protein: 85g •
Total Carbs: 115g •
Fibre: 90g •
Net Carbs: 25g
⭐ Per Slice (recipe makes 12 slices)
Calories: 131 kcal •
Fat: 9.6g •
Protein: 7.1g •
Total Carbs: 9.6g •
Fibre: 7.5g •
Net Carbs: 2.1g
Why These Macros Are Perfect for Keto
Minimal net carbs at 2.1g per slice easily fits most low-carb macros, even with multiple slices
High protein content provides lasting satiation and supports muscle maintenance during weight loss
Healthy fats from almond flour deliver sustained energy without blood sugar spikes
High fibre content supports digestive health and contributes to fullness factor
Compare to traditional sourdough (24g net carbs per slice) — this is a 90% reduction in carbohydrates.
Serving Ideas
How Should You Serve Gluten-Free Keto Sourdough? 🍳
Classic Breakfast Pairings
- Toasted with butter and sugar-free jam for a comforting morning ritual
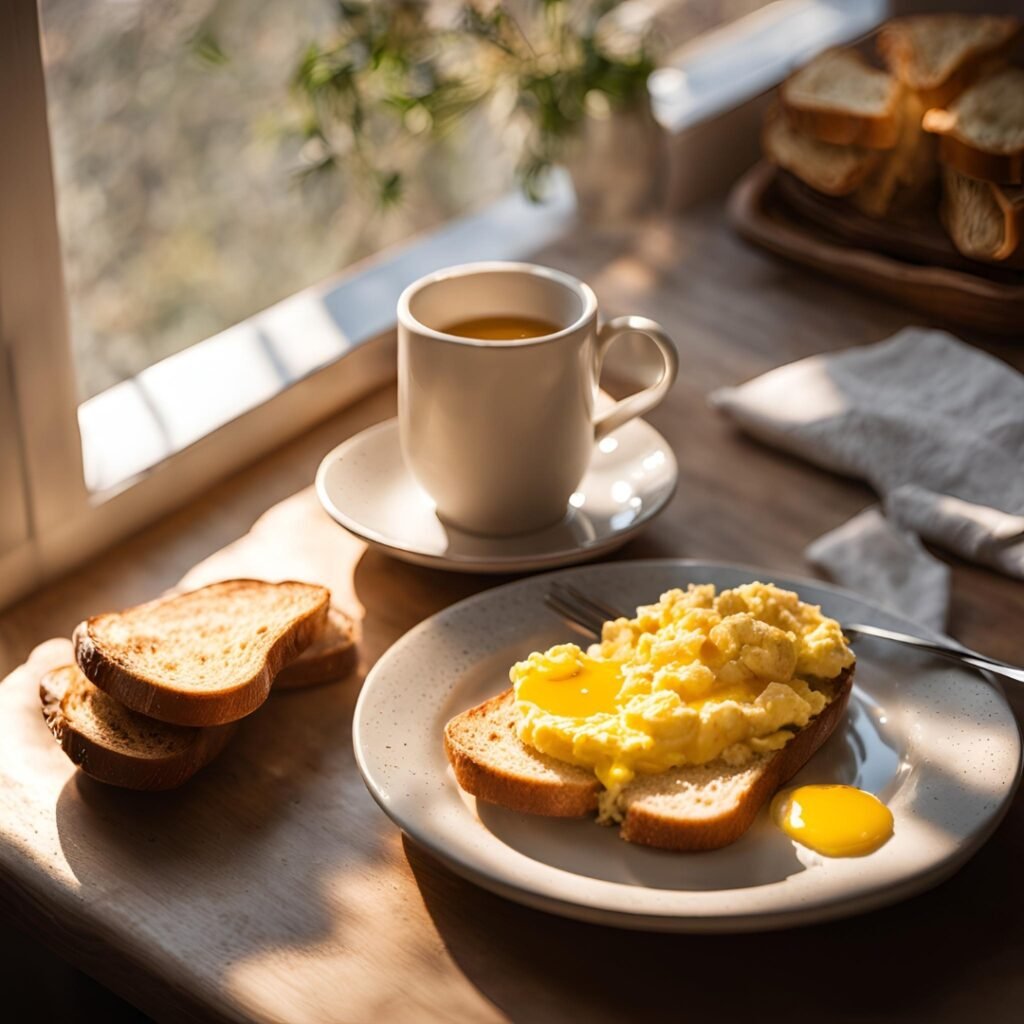
- Open-faced with scrambled eggs, avocado, and everything bagel seasoning
- French toast style (dipped in egg mixture and pan-fried) with sugar-free syrup
Hearty Lunch Options
- Deli sandwich with turkey, bacon, lettuce, tomato, and mayo
- Grilled cheese made with sharp cheddar and a touch of Dijon mustard
- BLT with extra avocado for a satisfying crunch and creaminess combo
Elegant Brunch/Special Occasion
- Smoked salmon, cream cheese, capers, and red onion for sophisticated flavours
- Bruschetta topping with fresh tomatoes, basil, and balsamic glaze
- Burrata, prosciutto, rocket, and a drizzle of olive oil
Lunch & Dinner Ideas
- Alongside hearty soups and stews for dunking
- As garlic bread (brush with butter, garlic, and herbs; grill briefly)
- Burger buns (slice horizontally for perfect low-carb sandwich structure)
- Crostini base for appetisers or charcuterie boards
Keeping It Fresh
How Do You Store Gluten-Free Keto Sourdough? ❄️
Room Temperature Storage
Store in an airtight container or zip-top bag for up to 3 days. Keep away from direct sunlight and heat sources to maintain texture and prevent spoilage.
Refrigerator Storage
Wrap tightly in plastic wrap or aluminium foil; store for up to 1 week. Toast slices directly from the fridge for best texture and warmth.
Freezer Storage
Slice the entire loaf before freezing; place parchment paper between slices to prevent sticking. Store in a freezer-safe bag for up to 3 months. Thaw slices at room temperature for 30 minutes or toast directly from frozen. Batch prep tip: make 2-3 loaves at once; freeze extras for convenient grab-and-go meals.
Pro Tip: Pre-slice before freezing so you can grab individual slices without thawing the entire loaf — this is a game-changer for busy mornings!
Setting Expectations
Why Is Your First Bake a Practice Bake?
Every oven is different, and your first bake helps you understand how your specific equipment performs. Brand and age variations mean oven temperatures can be off by 25-50°F, affecting baking time and crust development.
Ingredient brands matter too. One brand of almond flour might be finer than another, affecting moisture absorption. Oat fibre brands vary in grind size, which impacts texture. These subtle differences mean your perfect loaf might need minor timing or temperature adjustments.
Your personal palate also plays a role. People fall into three categories: non-tasters (less sensitive to flavours, may prefer more seasoning), medium tasters (average sensitivity, recipes work as written), and super tasters (highly sensitive, may find standard recipes too intense).
Don’t stress if your first loaf isn’t perfect. Take notes on what you’d adjust — baking time, crust colour, interior moisture — and tweak accordingly next time. That’s how you develop your signature loaf that’s perfectly tuned to your kitchen and taste preferences.
Disclaimer: All information provided regarding the health benefits of flexible keto breads and baked goods is intended for educational purposes only. The content presented is not meant to be taken as specific medical advice. This recipe is not suitable for individuals with celiac disease.
Master keto bread with 18g protein per slice and only 2.1g net carbs. Discover the egg-whipping secret for fluffy texture plus authentic sourdough fermentation benefits.
- Prep Time: 10
- Cook Time: 60
- Total Time: 70
- Yield: 12. Slices
- Category: Breakfast, Dinner, Discard Recipes, Lunch, Side Dish, Snack
- Method: Baking
- Diet: Gluten-Free, Keto, Low-Carb
Ingredients
Psyllium Gel
• ¾ cup warm water (180 mL)
• 2 tablespoons whole psyllium husks (12 g)
Dry Ingredients
• 2 cups ultra-fine blanched almond flour (224 g / 500 mL)
• ½ cup oat fiber (45 g / 125 mL)
• 2 tablespoons whey protein isolate (16 g / 30 mL)
• 1 tablespoon baking powder (12 g / 15 mL)
• 1 teaspoon salt (5 g / 5 mL)
Starter
• 1 cup living Biome Boss™ sourdough discard
(240 g / 250 mL)
Optional Topping
• Everything-but-the-bagel seasoning OR sesame seeds
Instructions
1. In a large mixing bowl, combine the warm water and whole psyllium husks. Stir well and allow the mixture to sit for 3–5 minutes until it forms a thick, pudding-like gel.
2. Add the almond flour, oat fiber, whey protein isolate, baking powder, and salt directly to the psyllium gel. Mix thoroughly until a thick, uniform dough forms.
3. Fold in the living Biome Boss™ sourdough discard and mix until evenly incorporated.
4. Allow the dough to rest for 30 minutes to fully hydrate and develop structure.
5. Cut a round piece of parchment paper slightly larger than the base of your Dutch oven. Shape the dough into a smooth round boule and place it in the center of the parchment. Lightly mist the top with water and sprinkle with everything-but-the-bagel seasoning or sesame seeds if desired.
6. Place the empty Dutch oven with its lid into the oven and preheat to 450°F (230°C). Once the oven reaches temperature, allow the Dutch oven to continue heating for an additional 30 minutes so it becomes fully heat-saturated.
7. Carefully transfer the parchment and shaped boule into the hot Dutch oven. Cover with the lid and reduce the oven temperature to 350°F (175°C). Bake for 60 minutes.
8. Remove the lid, reduce the oven temperature to 300°F (150°C), and continue baking for 30–40 minutes, until the internal temperature of the bread reaches 205–210°F (96–99°C).
9. Remove the bread from the Dutch oven and allow it to cool completely on a rack for at least 4 hours, or refrigerate overnight before slicing to allow the crumb to fully set.
Notes
📊 Nutritional Values
⭐ Whole Loaf
Calories: 1,568 kcal
Fat: 115 g
Protein: 85 g
Total Carbohydrates: 115 g
Fiber: 90 g
Net Carbohydrates: 25 g
⭐ Per Slice (12 slices)
Calories: 131 kcal
Fat: 9.6 g
Protein: 7.1 g
Total Carbohydrates: 9.6 g
Fiber: 7.5 g
Net Carbohydrates: 2.1 g
ℹ️ Important Nutrition Disclaimer
Nutritional values are estimates and may vary depending on several factors.
Values can change based on:
• Whether ingredients are measured by weight vs. volume
• Differences between ingredient brands
• Variations in fiber content and grind size
• Natural differences in agricultural products
Even the same brand can have different nutritional values depending on the country where it is sold. This occurs because food labeling regulations, approved testing methods, and ingredient sourcing standards vary between regions such as Health Canada and the U.S. FDA.
Fermentation may also slightly reduce digestible carbohydrates over time, meaning actual net carbs can be somewhat lower than calculated values.
For the most precise results, always calculate nutrition using the specific ingredient labels and weights you personally use.
Responses